Do what you love and love what you do .. create with passion.

Thursday, December 4, 2014

Reindeer Ring Bling

 
Look at this cute little ring I made. Yes .. yes .. I know, kind of impractical, but cute don't you think!!


While I was at Michaels I found these adorable little deer and trees. I just knew I wanted to try and make something with them .... what to do? *light bulb* ... a ring, why not!
 
 
So I gathered my supplies .... various glitters, a cute filigree ring blank, my little woodland cuties and trees.
 
 
I started by mixing my Envirotex Jewelry Clay using equal parts of each. After mixing it thoroughly, I formed the shape on my ring blank to support my deer and tree. Once I had the shape I liked, I covered the clay with glitter. I trimmed the base off the little tree and actually trimmed down the lower branches a bit so it wouldn't stick up too high. You have a couple hours till the clay dries so you have time to play with placement. Once I had my deer and tree set, I left the ring to dry overnight.
 
 
To finish my ring, I had to have more bling. So I used some E-6000 glue and carefully placed some rhinestones all around the base of my ring. And because more is better ... I even added some glitter to my little tree ... now kissed with snow and sparkle.
 
Isn't it cute?


Monday, November 24, 2014

The Nutcracket Market

 
To kick off the holiday season I always look forward to the Nutcracket Market.
It ran from November 13th through November 18th.
The Houston Ballet Guild's Nutcracker Market has become an annual tradition to kick off the holiday season. November 13th through November 18th.This shopping extravaganza, held at Reliant Center, features holiday decorations, food, clothing, jewelry and even furniture.

More than 315 vendors participate from across the country in this annual event which offers unique gifts for the entire family. You can find anything from home decor, clothing, toys, candles, sporting items, novelties and much more.

The Nutcracker Market has a long history dating back to its inception in 1981
 
The following pictures are just a very small taste of what I saw and experienced at this market. The vendors kind of frown on people taking pictures, and I was very careful not to upset anyone.


A very cute wrap bracelet.

 
There were many colors and styles.

 
Boots boots and more boots! Cowboy boots are the "in" thing for this season. And I must tell you, there were some beautiful boots at the market. And if your boots aren't beautiful enough, look at the pretty boot socks with lace just peeking over the top!

 
There were also these cute adornments. The lace and flowers are so sexy.
 
 
All types of boot pretties.
 
 
I especially loved this one ... the black and tan flowers, and the gorgeous rhinestone type brooch.
 
 
This one was gorgeous too, though I did not care for the boots which it was displayed on.
 

 A cute hat. Just different size fabric flowers sewn on it.


 All kinds of hair decorations .... bows and clips.


And oh my goodness ... the jewelry. This is like a blimp on the radar screen. Anything you could imagine and all price ranges. You want to spend $10 or $500. They had it all.

 
Look at these chunky earrings .... so cute.

 
And these, I just love them.

 
I hated to see this guy mounted, as I love animals .... but he was certainly adorned with bling bling and more bling.
 
 
Headbands are the rage too.

 
 Cute.
 
 
And just look at these hats! Simply adorable.


 So next year, mark your calendars for the Houston Nutcracket Market in November. I could have taken hundreds of pictures if I were allowed ... so much to see. Did I mention food and drinks. So many vendors with food items galore. What could be better ... food, drinks and shopping.
 
It was an awesome day. I always look forward to it.

Tuesday, November 4, 2014

I Love Fall

 
Cleaned up my front yard. Too bad it won't stay this way very long, once the leaves start to fall. And boy do they fall ... and fall ... and fall!
 
 
But for now i'm going to enjoy my leaf free front yard.


Look at this adorable face .... meet Beedy! She was found in a bush at my work on a cold and rainy day. She was only 1 week old and without a doubt would not have made it if we had not brought her into the office. I offered to take her home until we could find somewhere for her. Uh huh .... you can see how that turned out! But oh how I love this little girl.

 
This poor birdhouse is in need of some TLC. Unfortunately it is in my neighbors yard, not to mention it is about 30 ft. in the air. The birdies don't seem to care that it needs a paint job though.

 
I love this iron kitty. Adds some whimsy to the yard.

 
I've had this mum plant for a year ... and just like clockwork it is blooming just in time for fall.

 
Have a mentioned I love yellow.

 
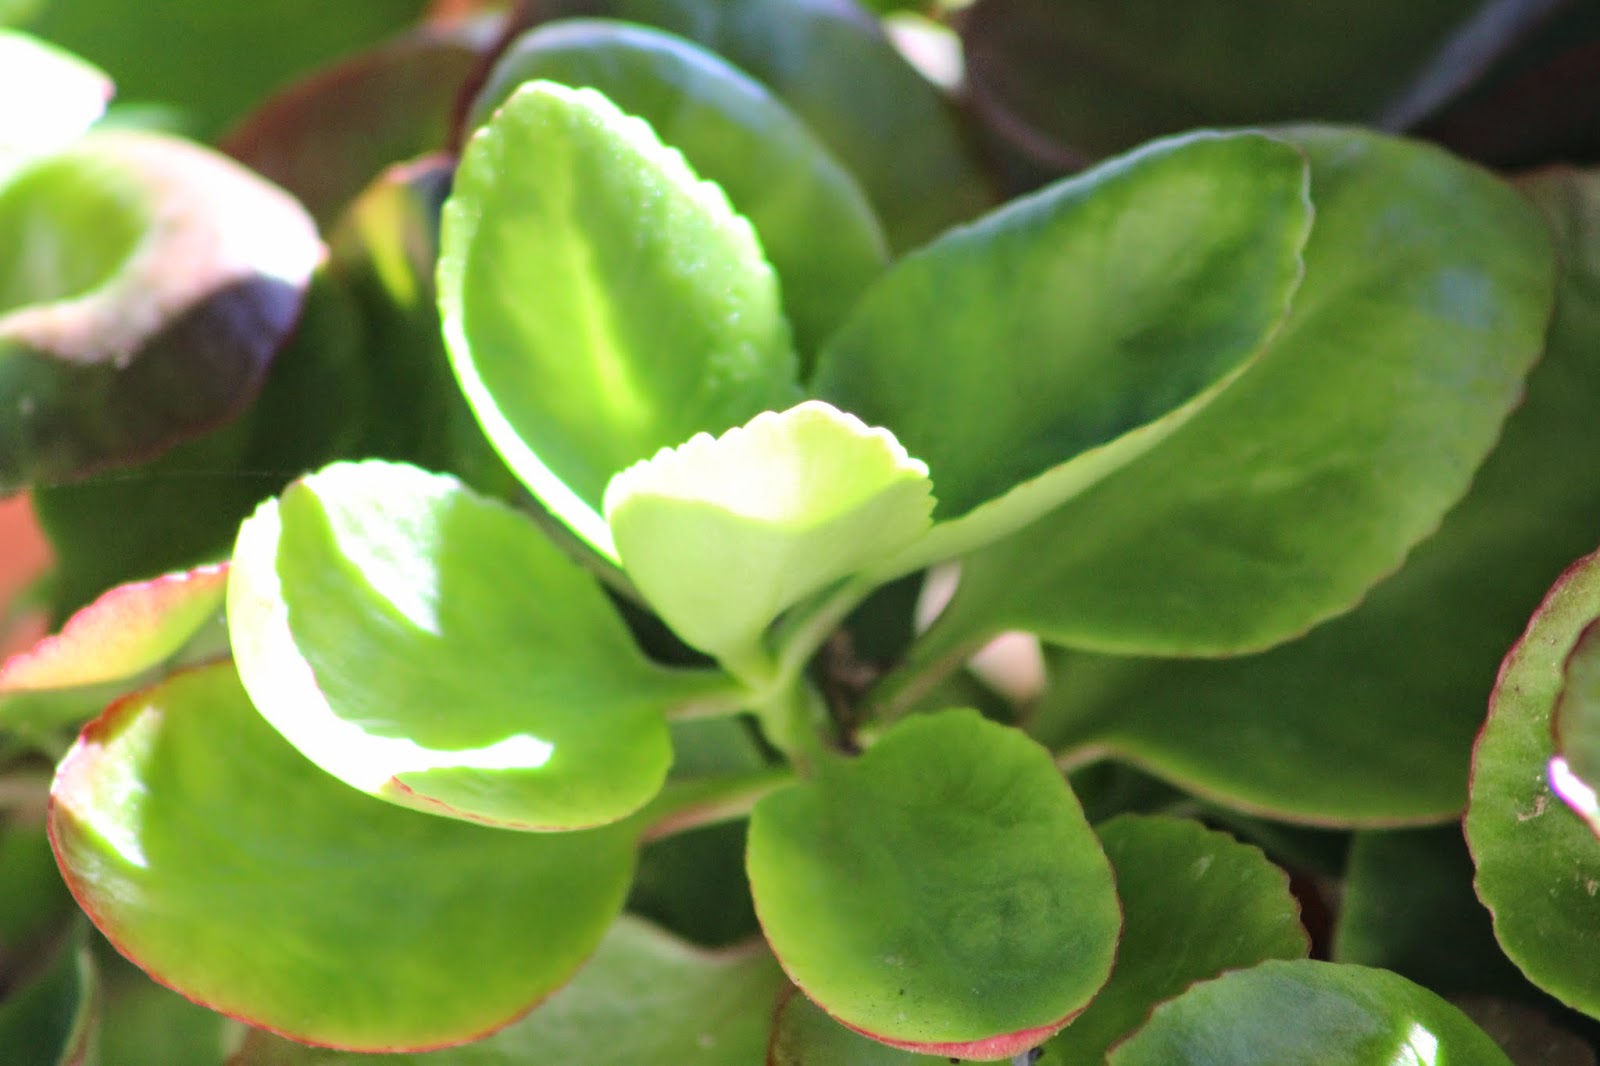
This succulent has the prettiest red flowers that bloom is the summer.

 
My aloe vera is so happy. Sure comes in handy after a day at the beach and a bit too much sun. I just pull a couple leaves, cut the barbs off and place in a plastic bag in the refrigerator. When you need it, just peel the skin off and rub on your *hot* skin .....ahhhhhhhh!
 
Happy Fall Everyone!!


Friday, October 31, 2014

Happy Halloween Everyone!


Have a safe evening with all the little ghouls and goblins on this Halloween Night! Keep your kiddo's safe ... and keep your doggies and kitties indoors!!
 
 
Trick or Treat!!

Wednesday, October 29, 2014

SPOOKacular

 
I had this beautiful sari ribbon, just waiting to be used. AND, I need another necklace for Halloween.


 I think it turned out great and the sari ribbon colors were perfect.
 
 
 Happy Halloween Week Everyone!
Meeeeowww!

Sunday, October 26, 2014

Halloween Necklace and Earrings


Stickers, resin, black chain and some green, black and orange beads. Simple.


I've had these stickers for a while. So I thought i might experiment just a little. I mixed up a batch of resin and carefully covered each sticker that i was interested in using. It was a bit time consuming, but like I said, it was a experiment. After they set for 24 hrs, I came back, roughed up the backs of the stickers and mixed another batch of resin ... this time I added some black pigment to the resin. I carefully covered the backs of my stickers and again let them dry for 24 hrs.
 
 
And wha la .... add some chain and beads and I now have a cute little necklace to wear on Friday!


Saturday, October 25, 2014

Adorable Teddy!!

 
This is SO adorable!! Little Teddy is so happy eating his pumpkin treat!


Now I want a pet porcupine!!


Wednesday, October 22, 2014

A Little "Boo Boo!"

I wanted to share a "boo boo" that happened while I was making my little Halloween magnets.


After I pour my resin in my piece, I let it rest for about 45 minutes to an hour. Then I return and check for air bubbles. As you can see in the picture above, especially around the top left edge .... I got a bit too zealous with my heat gun, and what actually happened, I created MORE bubbles!!
 
 
SO .... don't heat up your piece too much. Hold your heat gun approximately 6 inches away and move it back and forth over your piece.
 
 
But see ... I turned a lemon into lemonade so to speak. I hate to throw mistakes away, they are good teaching tools. I had these flat rhinestones, so I glued them in place around the edge, and now I have another magnet. Not perfect, but not bad for a uh oh moment.
 
Love Always .... Carla


Sunday, October 19, 2014

Halloween "BOO" Magnets


These were fun to make ... and easy!
 
 
I had these buttons I had bought some time ago. I knew I would find something to make with them. So first, I cut out the cute little cob web circles from scrapbook paper. I only had a 1" punch, but I improvised. Then I used some Modge Podge to glue them in the center. I protected my paper with three coats for Modge Podge, letting it dry completely between coats.
 
 
I picked these up at Michaels last year, now was the perfect time to use them. They were sticky on the back, so easy to arrange on top of my buttons.
 
 
Once I had my puffy little ghouls arranged the way I wanted, I used a small paint brush and some Modge Podge to go around the edges of my design and then I sprinkled them with my glitter and let them dry completely. Once they were dry I dusted the excess off and prepared my resin. And carefully filled each little button scene.


After I had my resin poured, I let them rest for about an hour. Then used a heat gun to pop any bubbles which might have surfaced. And let them dry for 24 hrs. Lastly, glue your magnets on the back with some E-6000 and wha la ... cute little fridge magnets.
 
Love Always ...... Carla